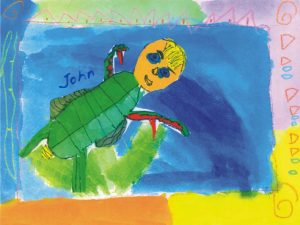
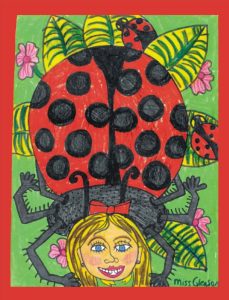
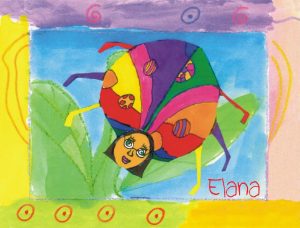
Insect Selfie
Process
Introduction
Look at the visual references. Discuss various body parts of different insects.
Guided Practice
Students are asked to consider the placement of the head and encouraged to draw big! For example, I ask them if they would hold their paper horizontal or vertical for a profile? Where would the bead be? Together we remember all the facial features we used for the previously drawn self-portraits and discuss symmetry. As we reflect back I model each item For example, eyes in the middle of our heads, eyebrows, nose, mouth, etc.… I then ask the students to give themselves a thorax, an abdomen, six legs and wings, if desired.
Details
Before students begin to work independently, we brainstorm as a class about details. I then give them about 5-10 minutes to make additions: antennae, hair on legs, palpi, stingers, ovipositors, etc.… Finished or not, we all stop and chart patterns on the chalkboard, the students work again for 5-10 minutes.
Patterns
Children discuss whether they want a pattern that is created by lines and color (like a bee) or shapes and color (like a ladybug). Some students want to use the imaginary colors or an insect they have seen only in their minds. We talk about how patterns can depict the texture that really appears on an insect. Finished or not, we all stop to pair share with the student next to us for background ideas.
Background
- I usually start them off with a proportion comment or suggest they pretend to see through multiple eyes. Some students want to have themselves in a garden or backyard. Others want to be in an indoor setting (a cupboard, the garage or a bedroom). Children work for the remainder of the class independently. Students outline everything in black pen and eventually fill in with crayons, markers or watercolors.
Closure
- When the students complete their drawings (I always say when the entire page is full of color without any scribble/scrabble). I read A Very Quiet Cricket by Eric Carle. This is a multi-sensory book with wonderful collage illustrations and a chirp of a cricket at the end. Many students usually finish and join me on the floor. We then critique by having a student sit in the “share chair” and tell one thing they enjoyed about another student’s work.
Age Group
Grades 2-4
Adaptable to All Ages
Difficulty
Time
75 minutes
Materials
- white art paper
- crayons
- colored markers
- watercolor paints
- brushes & sponges
- water containers
- pencils
- black fine tip marker
- visual references of insects
Submitted by
Megan Gleason
Art Educator @ Fairfax, VA


