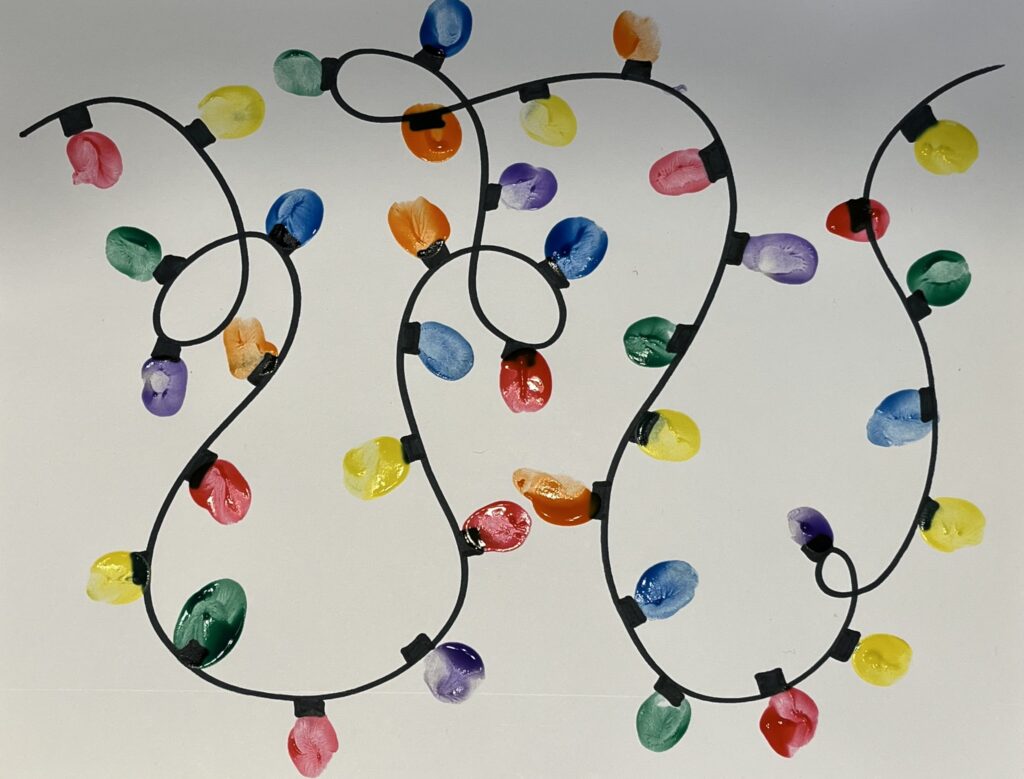
Fingerprint Holiday Lights Lesson Plan
What You’ll Need
- White paper provided by Original Works, or another high-quality, 70# 8 ½” x 11” art paper
- Bright Colored Finger Paints
- Paper Towels
- Paper Plates
- Black Marker
Project Prep
Ahead of time, an adult should draw the holiday light cord along with the light sockets where the bulbs will attach to the cord with a black marker on the white paper. Be sure to add some loops in the cord to add some extra visual interest, and leave enough room for the finger print lightbulbs to be added!
Right before starting this project with the kids, put a few drops of a few different finger paint colors on a small paper plate. Hand out the plates, along with a paper towel or two for each child.
Fingerprint Holiday Lights Project Instructions
- Demonstrate the project to the students to show them how they will use their fingers to add a ‘lightbulb’ atop each socket along the light strand. Remind them that mixing colors is not recommended and that they can use the paper towel to wipe their hands between each color.
- Hand out project materials to each child: a paper with the light strand pre-drawn, a paper plate with a few different finger paint colors, and a paper towel.
- Students will then use their fingers to add lightbulbs to each of the sockets drawn along the cord.
- For younger students, you may need to work 1:1 to help them properly place their finger prints and avoid mixing colors.
- For students in Kindergarten and beyond, walk around and provide guidance as they work to add colorful fingerprint lightbulbs along the strand.
- Once dry, students can sign the front of their artwork at least 1” away from the edge of the paper.

Age Group
Grades Toddler – Kindergarten
Time
30 minutes
Materials
- white 8 ½” x 11” art paper
- finger paints
- paper towels
- paper plates
- black markers


