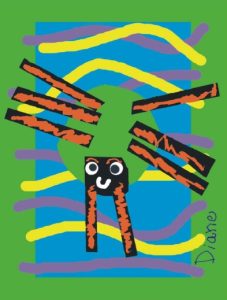
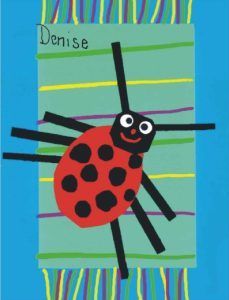
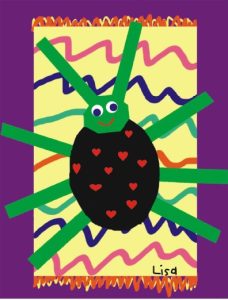
Bug on a Rug Lesson Plan


Process
Teacher:
You may want to pre-cut construction paper for younger students. You will need 1” to 1 ½” strips for the borders and various shapes for the bug body (circles, oval, squares and long rectangles) in multiple colors.
- Start by looking at close-up pictures of bugs and insects.
- Talk about what bugs the children might see in your area.
- Each artist should decide what kind of bug they want to create for their project.
- Children may decide to create a bug from their imagination.
- Begin by creating a patterned “rug” on a heavy white paper with the markers.
- Don’t forget that you will be gluing a border onto this sheet.
- The main “rug” color is the most important.
- Choose a single color for your border (multi-colors will distract from your bug).
- Trim border pieces, if needed, to be 1” to 1 ½” wide.
- Glue in place. Be sure to stay inside the heavy white paper.
- Additional rug design may be added at this time.
- A pattern for the rug and fringe both look great.
- Plan your bugs.
- Have older children draw a broad sketch, on scrap paper, using geometric shapes to plan their bugs.
- The bugs should be big and cover a large amount of the project.
- Don’t forget the details (eyes, spots, etc.…)
- Cut construction paper shapes according to your sketch.
- Stress the use of vibrant colors.
- Lay out the construction paper in your bug shape.
- Firmly glue the bug pieces onto your rug.
- Be careful that no pieces overhang the paper.
- The final step is for each artist to sign their name, in a contrasting color at least a 1” from the edge of their masterpiece.
Age Group
Grades K-3
Difficulty
Moderate
Rated 3 out of 5
Time
2 Class Sessions
Materials
- 8 1/2″ x 11″ white art paper
- various colors of construction paper
- colored markers
- scissors
- glue
- scratch paper
- close-up pictures of bugs
- pattern sampler (optional)
- example of the project

