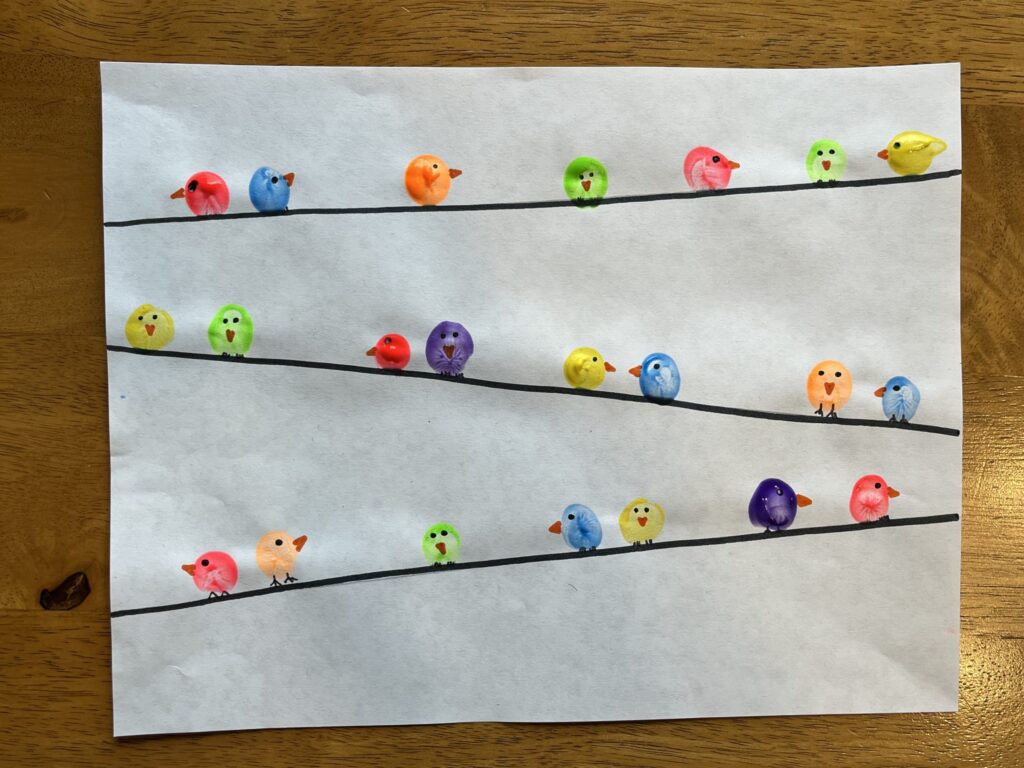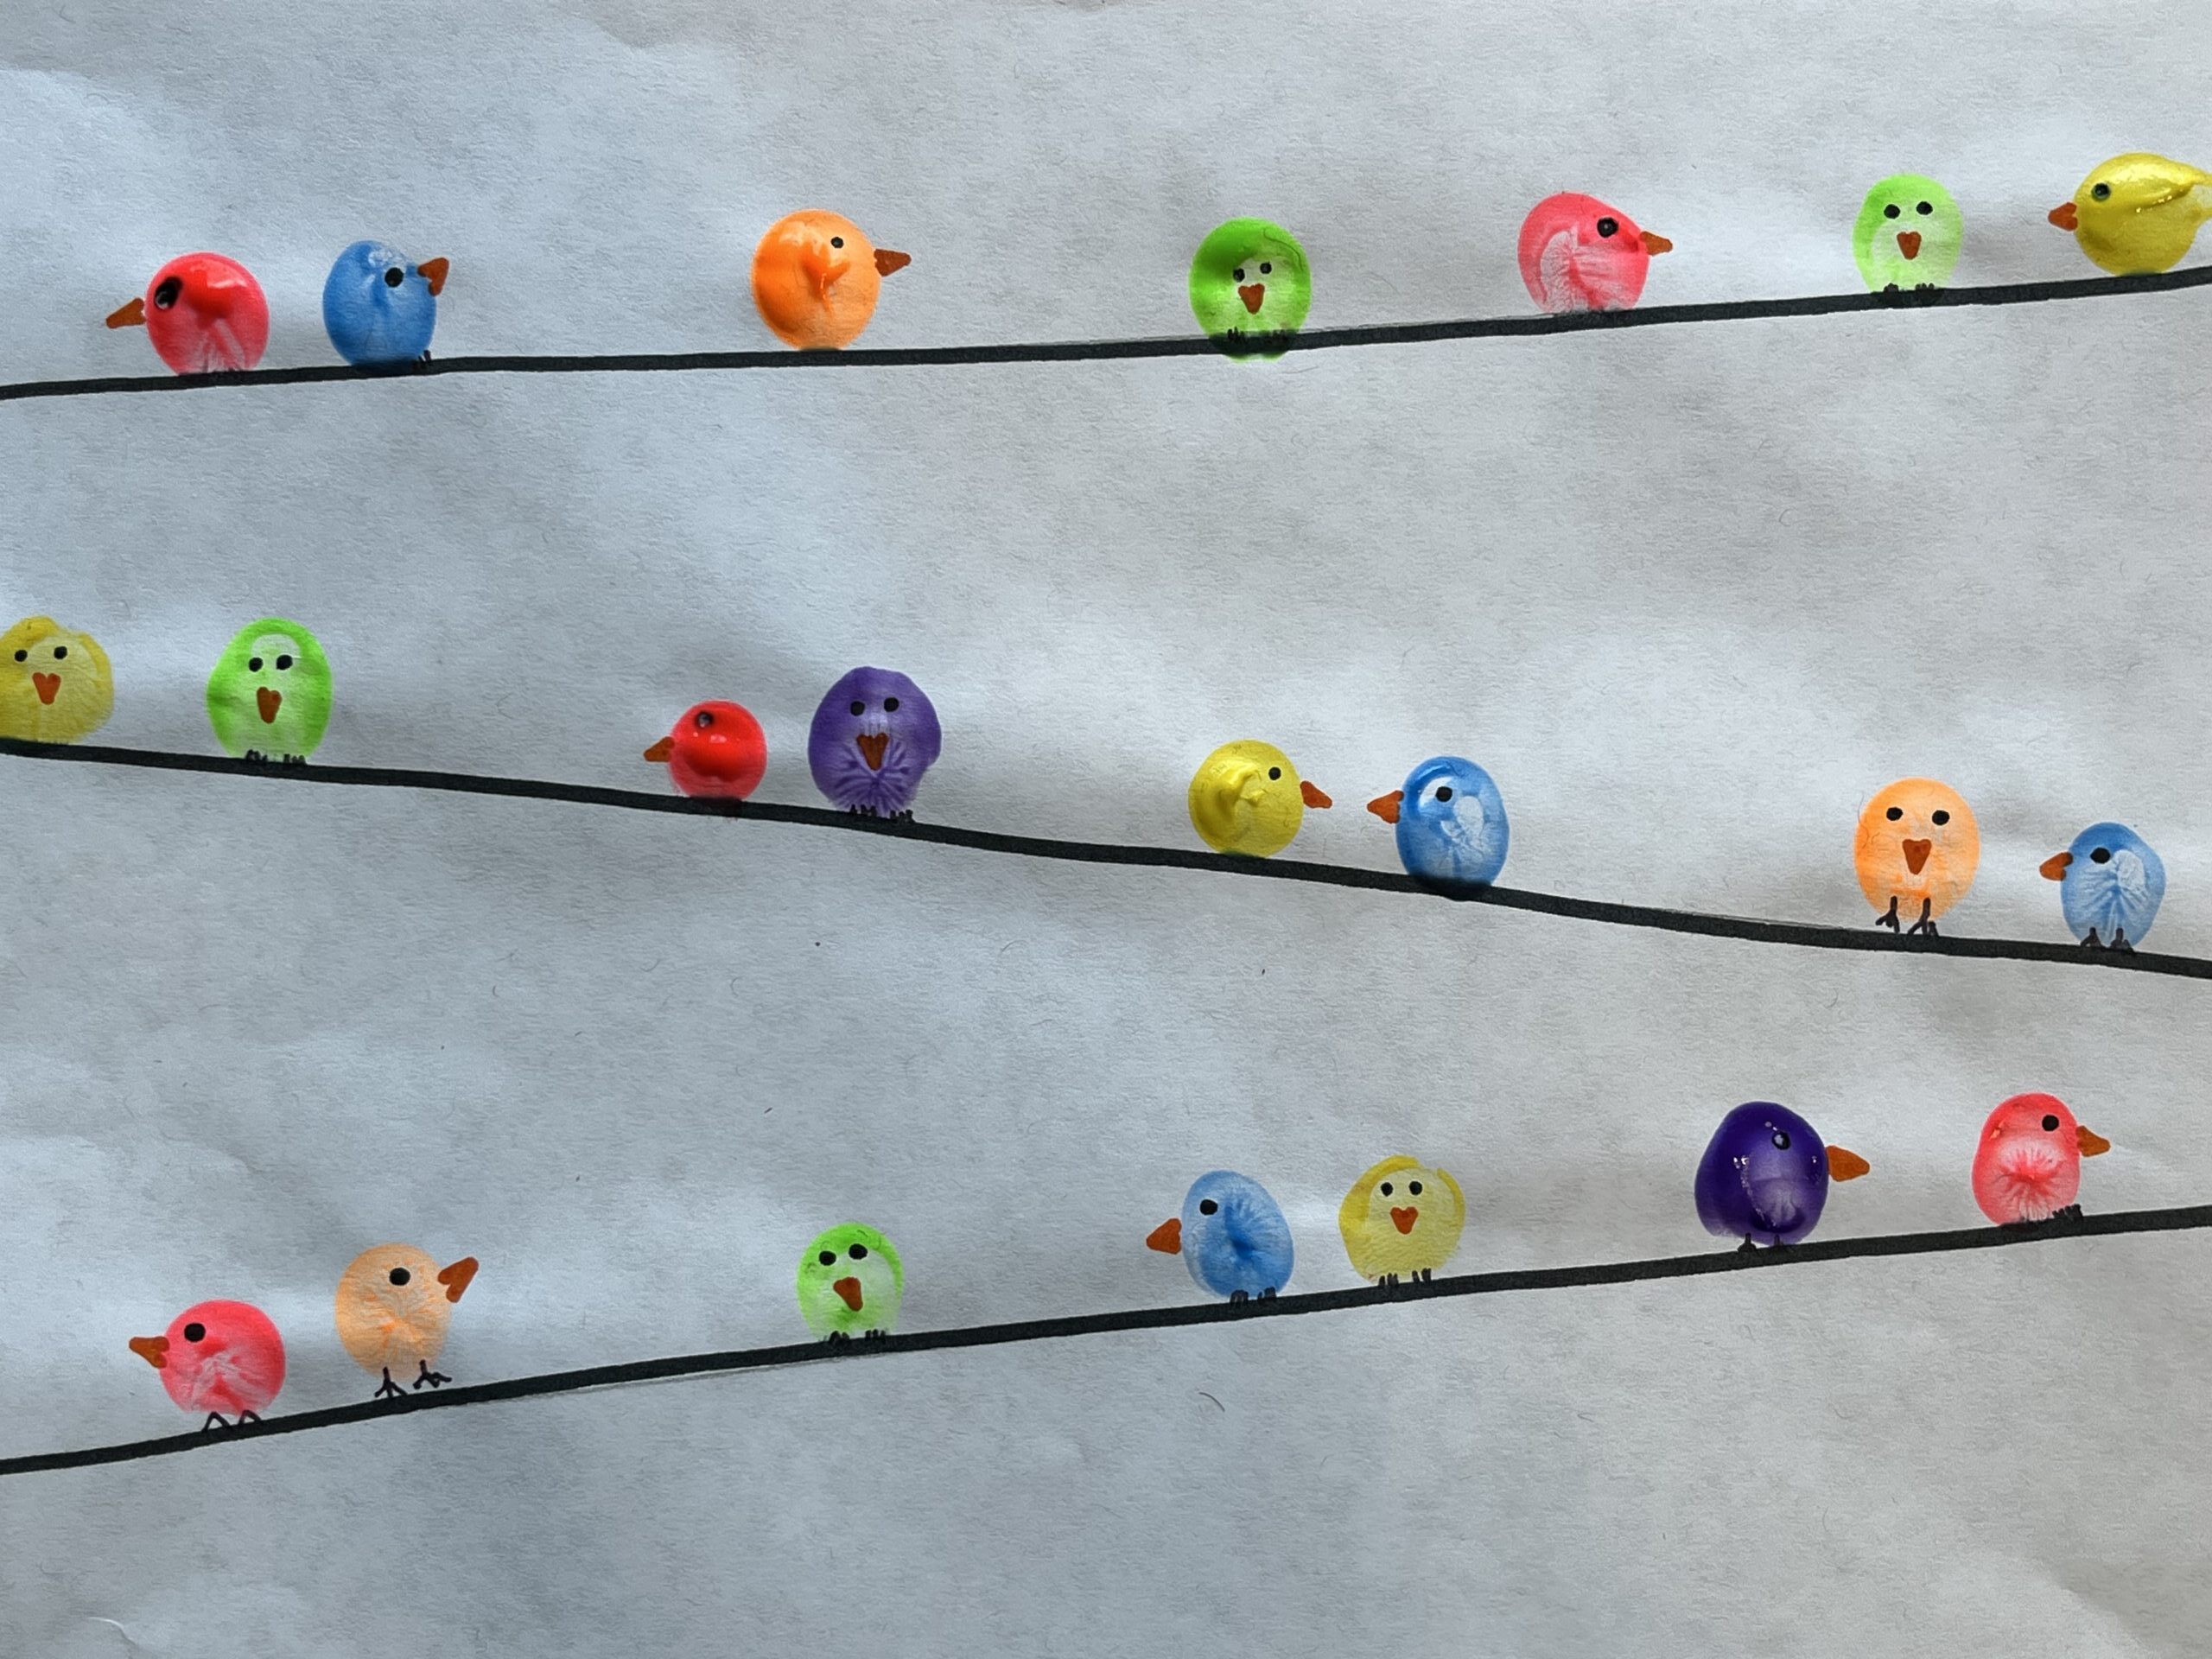
- To begin, show the students an example of the finished project to give them an idea of what they are working towards. It may also be helpful to demonstrate to students how they will carefully place fingerprints along the ‘wires’.
- As you get started, remind the students that mixing colors in this project is not recommended and they’ll want to wipe their fingers off between colors.
- Hand out project materials to each child: a paper with the bird’s wire pre-drawn, a paper plate with a few different finger paint colors, and a paper towel wet/wipe.
- Older students will start by tracing the wires with black marker. Younger students will have the wires pre-drawn.
- Next, students will use their fingers to make fingerprints along the tops of the wires, making sure to leave enough space between fingerprints to add some bird features. Younger students may need some 1:1 help to properly place their finger prints and avoid mixing colors.
- Once there are several colorful fingerprints placed along each wire, it’s time to let the project dry.
- After the paint has dried, it’s time to go through and add some eyes, beaks, and feet to the fingerprints to make them look like birds. Younger students may struggle to do this themselves, so the instructor may want to do this final step. For older, more capable students, give them a quick instruction about where to place the eyes, beaks and feet, show them an example again, and then hand out the markers and let them give it a try!
- Once complete, students can sign the front of their artwork at least 1” away from the edge of the paper.