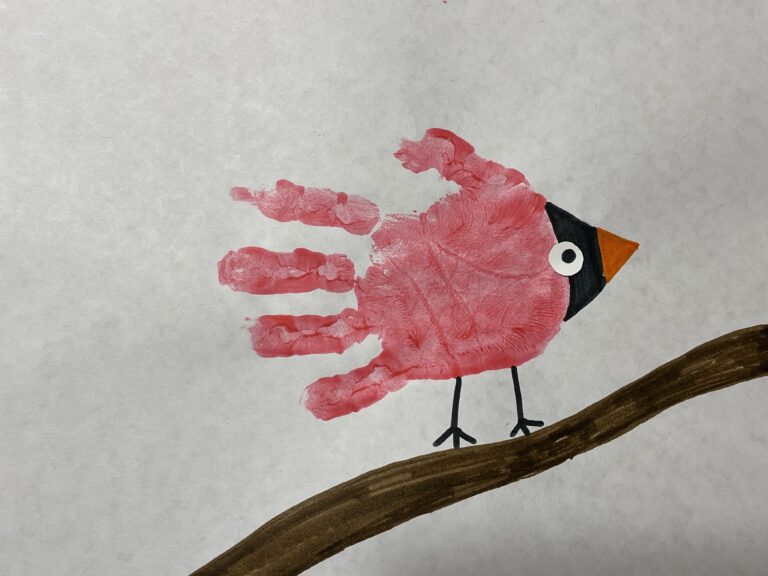
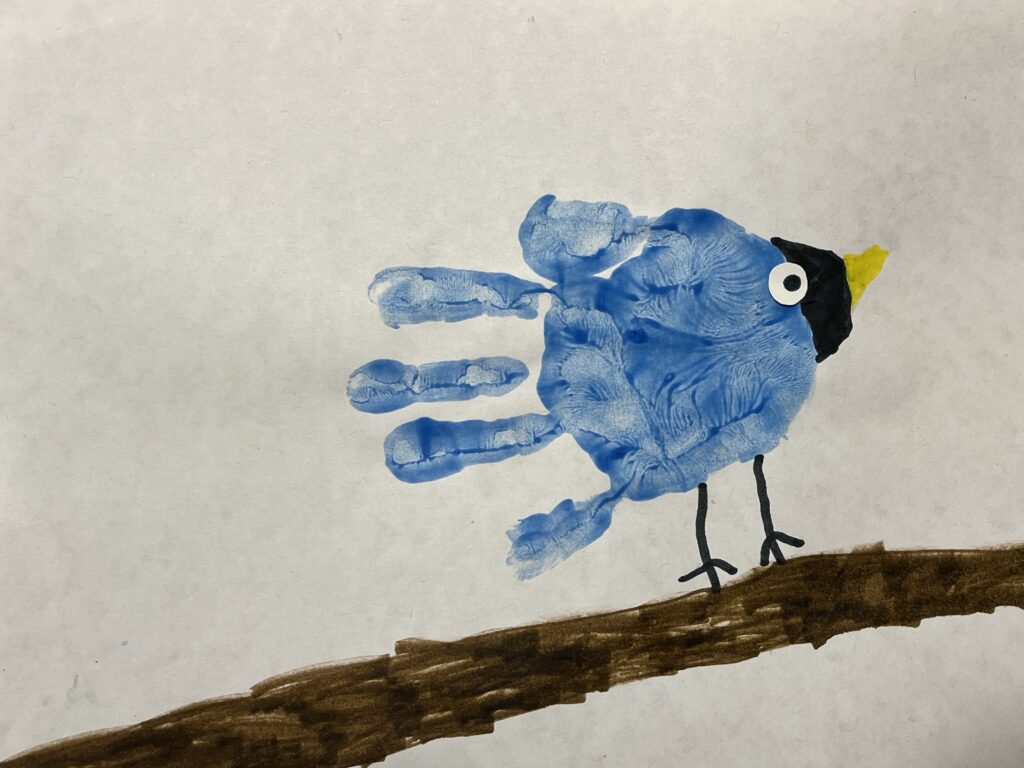
Handprint Winter Birds Lesson Plan

What You’ll Need
- White paper provided by Original Works (or another high-quality, 70# 8 ½” x 11” art paper)
- Bright Colored Finger Paints
- Markers
- Paint brushes
- Glue sticks
- Paper towels
- Wet wipes
- Paper plates
Project Prep
Ahead of time, an adult should cut out small circles to use as eyeballs. You’ll need one for each bird. We recommend that the circles be about 1/2 inch in diameter. Draw a small dot on each for the pupil. (Please note that googly eyes are not recommended as they do not meet our artwork requirements because they don’t translate well to our reproductions!)
Right before starting this project with the kids, put some finger paint on a small paper plate. We recommend red or blue paint for creating winter birds that stand out against the snow, but kids can choose any color they’d like! Feel free to be creative! Hand out the plates, along with paper towels and/or wet wipes for each child.
Handprint Winter Birds Project Instructions
This project will be done in two short steps:
Step One:
Prep:
- Show the students an example of the finished project so they understand what they’re working towards.
- Show them how they will use the paint to cover one hand and then demonstrate how to make a hand print on the paper (straight up and down, no smudging), and where to place the handprint (somewhere towards the center of the page). If you hand out multiple paint colors, remind the kids that mixing colors is not recommended for this project.
- Hand out project materials for step one to each child: paper, finger paint, paint brush, and paper towels/wet wipes.
Hands-on:
- Students will paint one hand and place a handprint on the white paper.
- For younger students, you may need to work 1:1 to help them paint their hands and properly place their handprints.
- For students in Kindergarten and beyond, walk around and provide guidance as they work.
- Once the handprints have been made, put the papers aside to dry.
Step Two:
Prep:
- Once the handprints are dry, it’s time for step two. Hand out markers, glue sticks, and eyeballs.
- For younger students, it may be helpful to outline the bird faces, beaks, and feet, then have them trace these elements instead of drawing them freehand themselves. You can also draw the branch and have the students color it in. For older students, it will be helpful to give them an overview of how to finish the project. Be sure to show them the finished product again.
Hands-on:
- Students should draw (or trace) the birds’ faces and beaks. Faces should be drawn with black marker, and we recommend orange or yellow for the beaks – but again, kids are welcome to be creative if they’d like!
- Draw (or trace) legs and feet on the birds, then draw (or color in) the branch below the feet.
- Students should sign the front of their artwork at least 1” away from the edge of the paper once their winter bird project is complete.

Age Group
Grades Toddler – 1st Grade
Time
30 minutes
Materials
- white 8 ½” x 11” art paper
- finger paints
- markers
- paint brushes
- glue sticks
- paper towels
- wet wipes
- paper plates


