Valentine's Day Handprint Flowers Lesson Plan
What You’ll Need
- White paper provided by Original Works (or another high-quality, 70# 8 ½” x 11” art paper)
- Watercolor paints
- Finger Paints
- Markers
- Paint brushes
- Paper towels
- Wet wipes
- Paper plates
Project Prep
Assemble all project materials. We also recommend creating a sample of this project to show kids as you’re starting the project and along the way as they complete each step. It helps to give them an idea of what they’re working towards as they are completing the craft!
Handprint Flower Bouquet Project Instructions
This project will be done in three steps:
Step One: Watercolor Painting the Background
Prep:
- Show the students an example of the finished project so they understand what they’re working towards.
- Hand out paper, watercolor paints, and a brush to each child.
Hands-on:
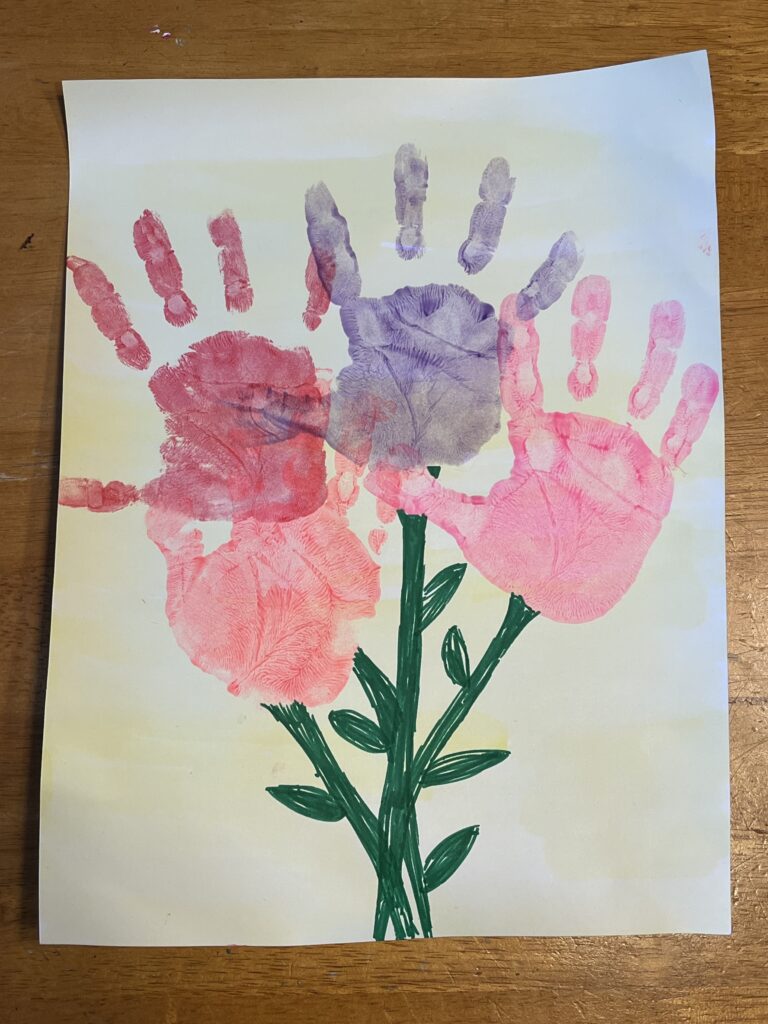
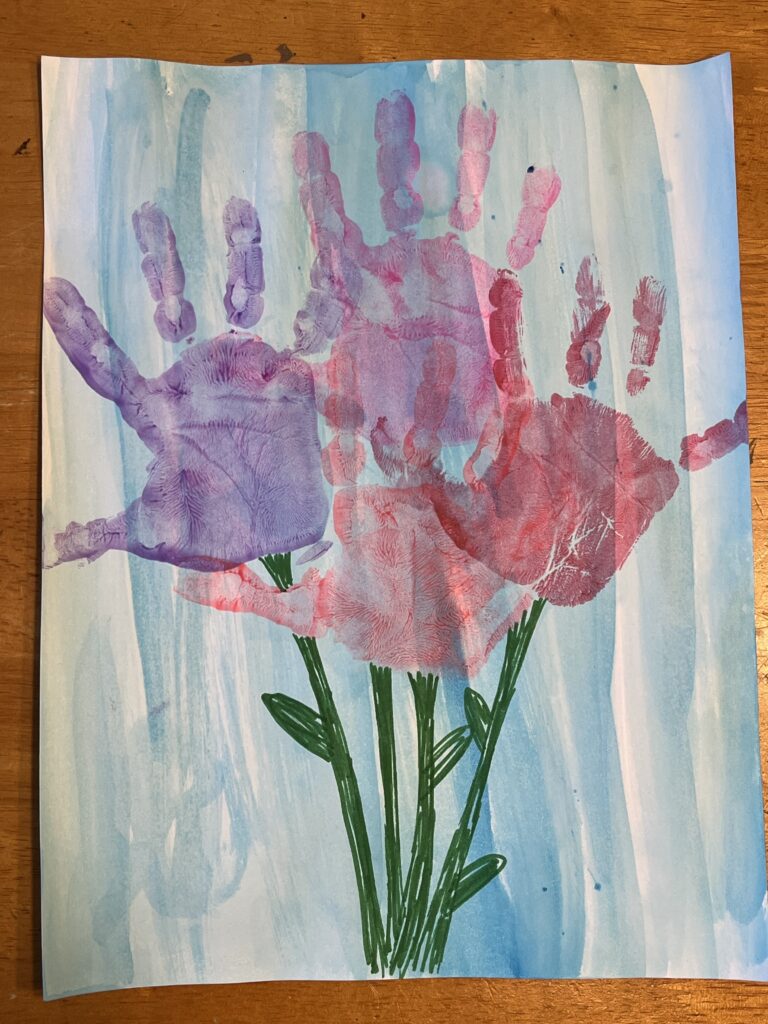
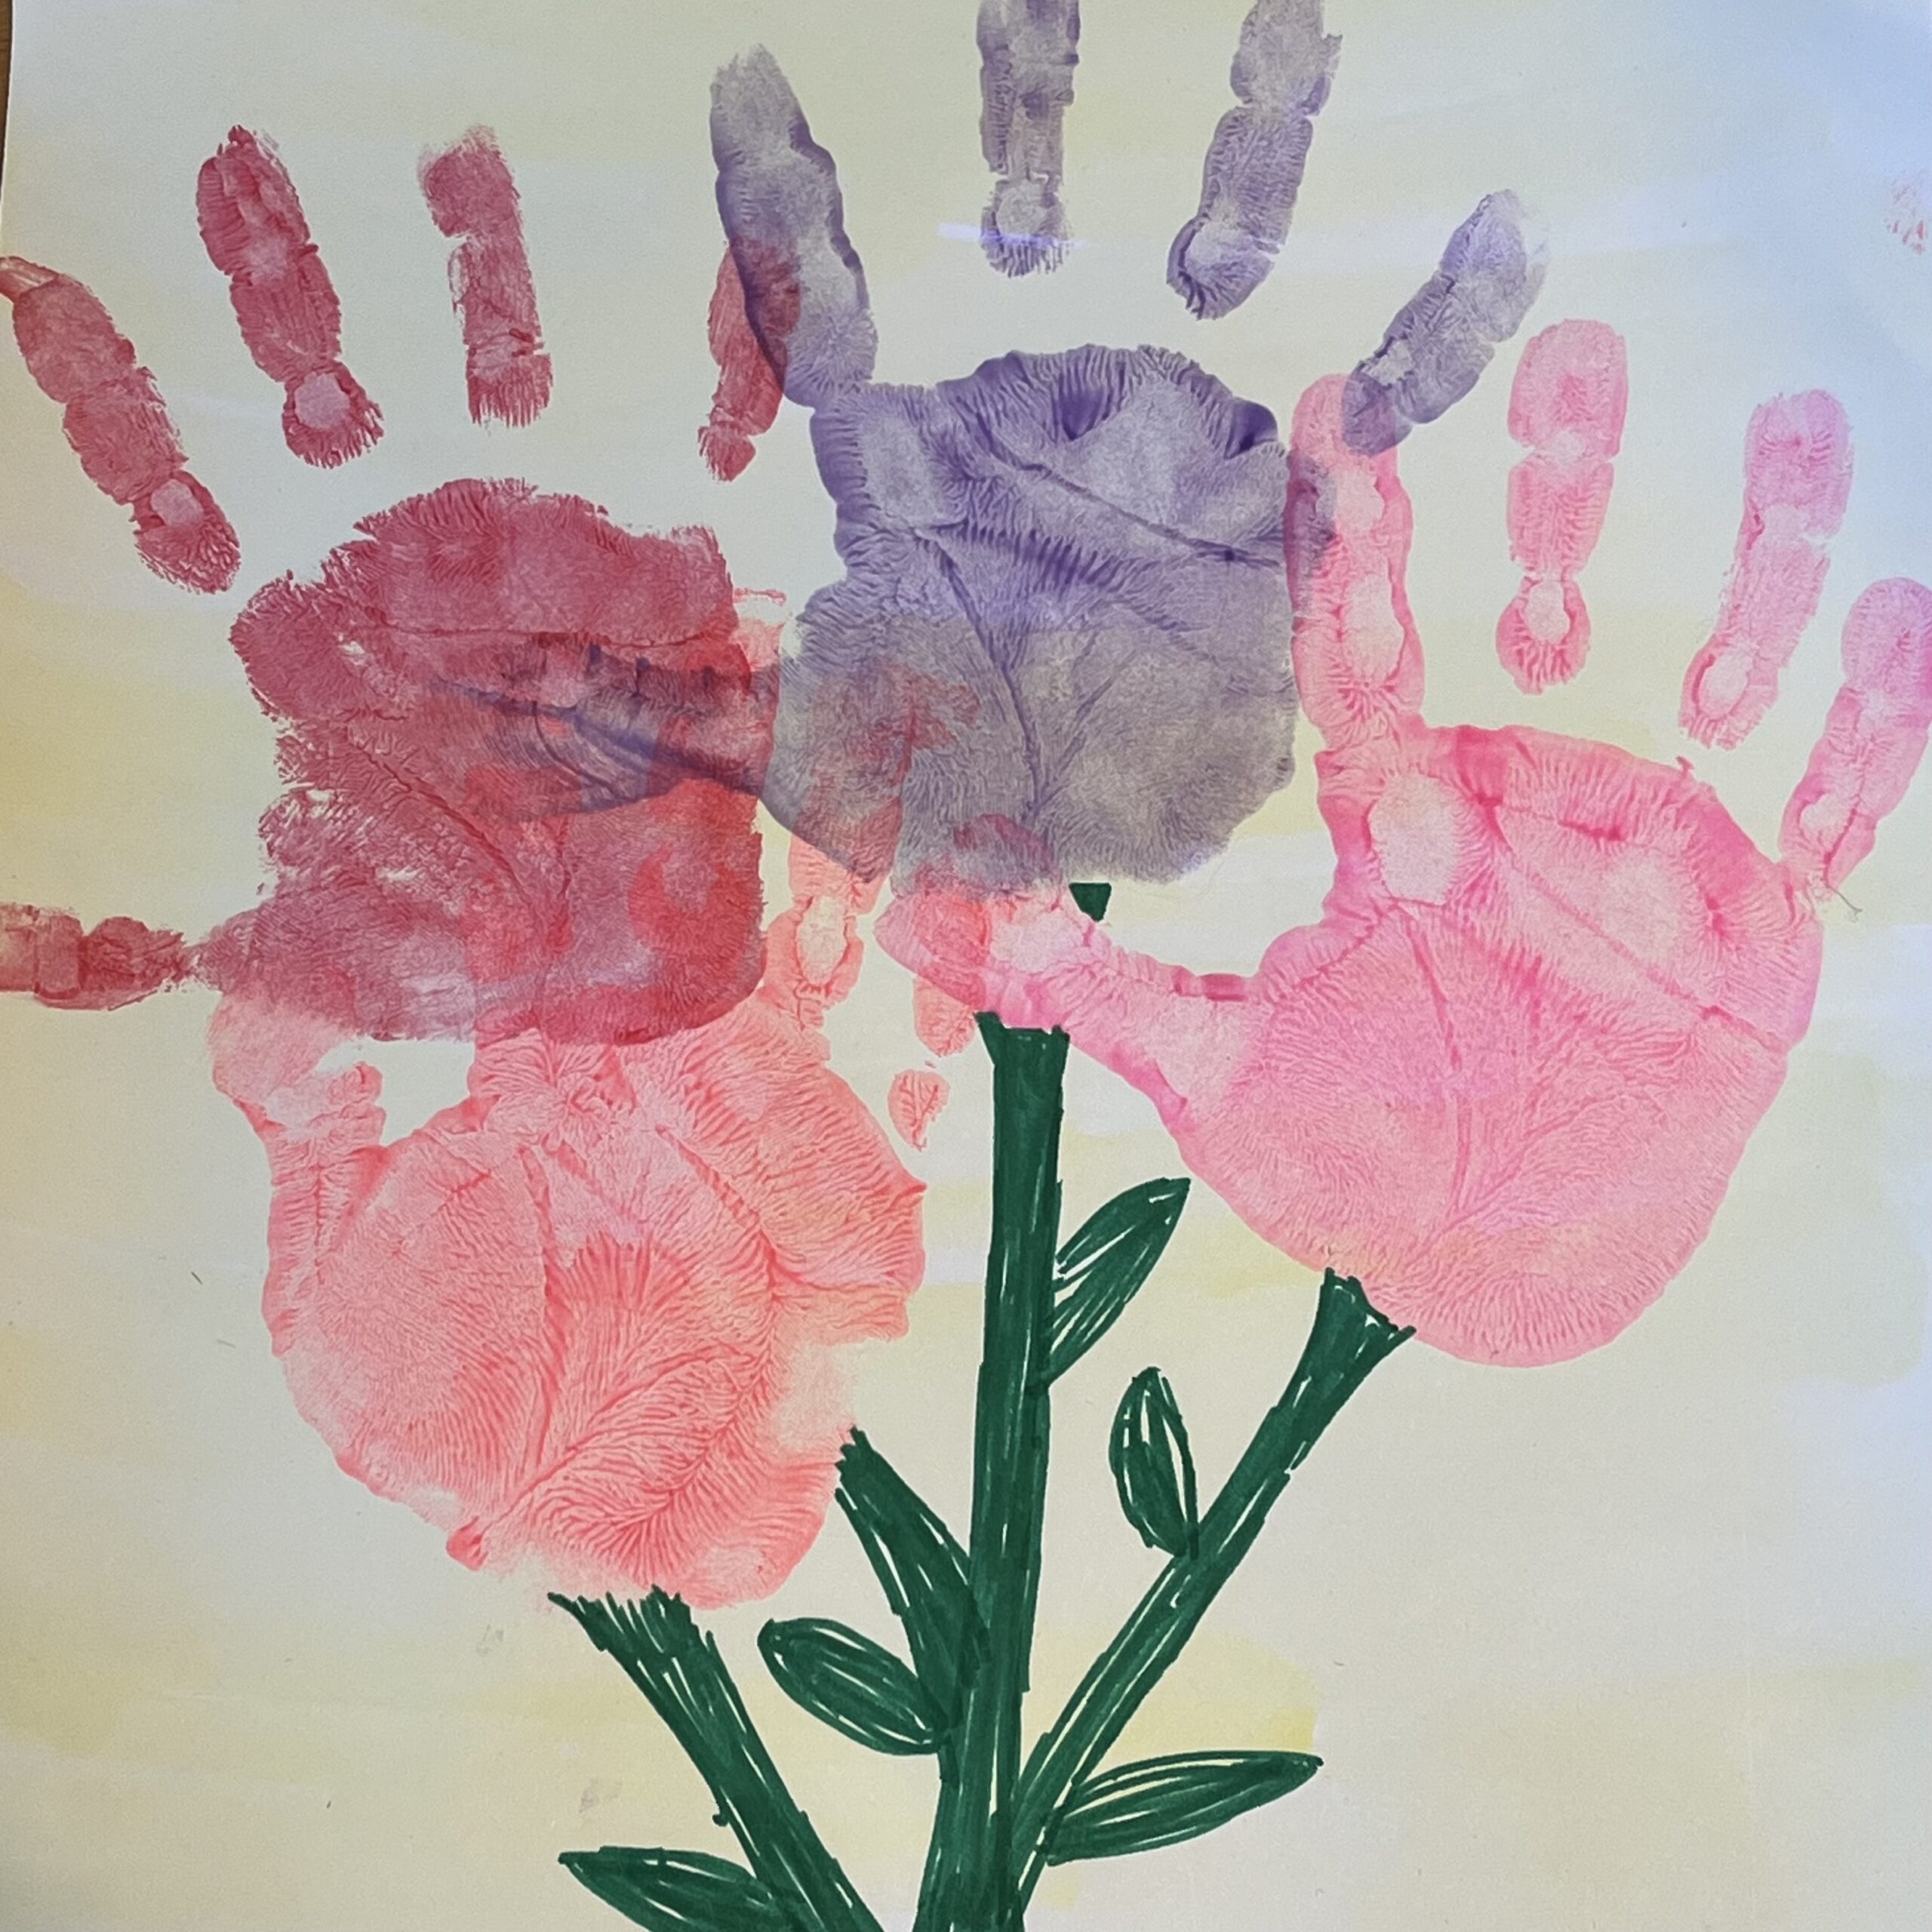
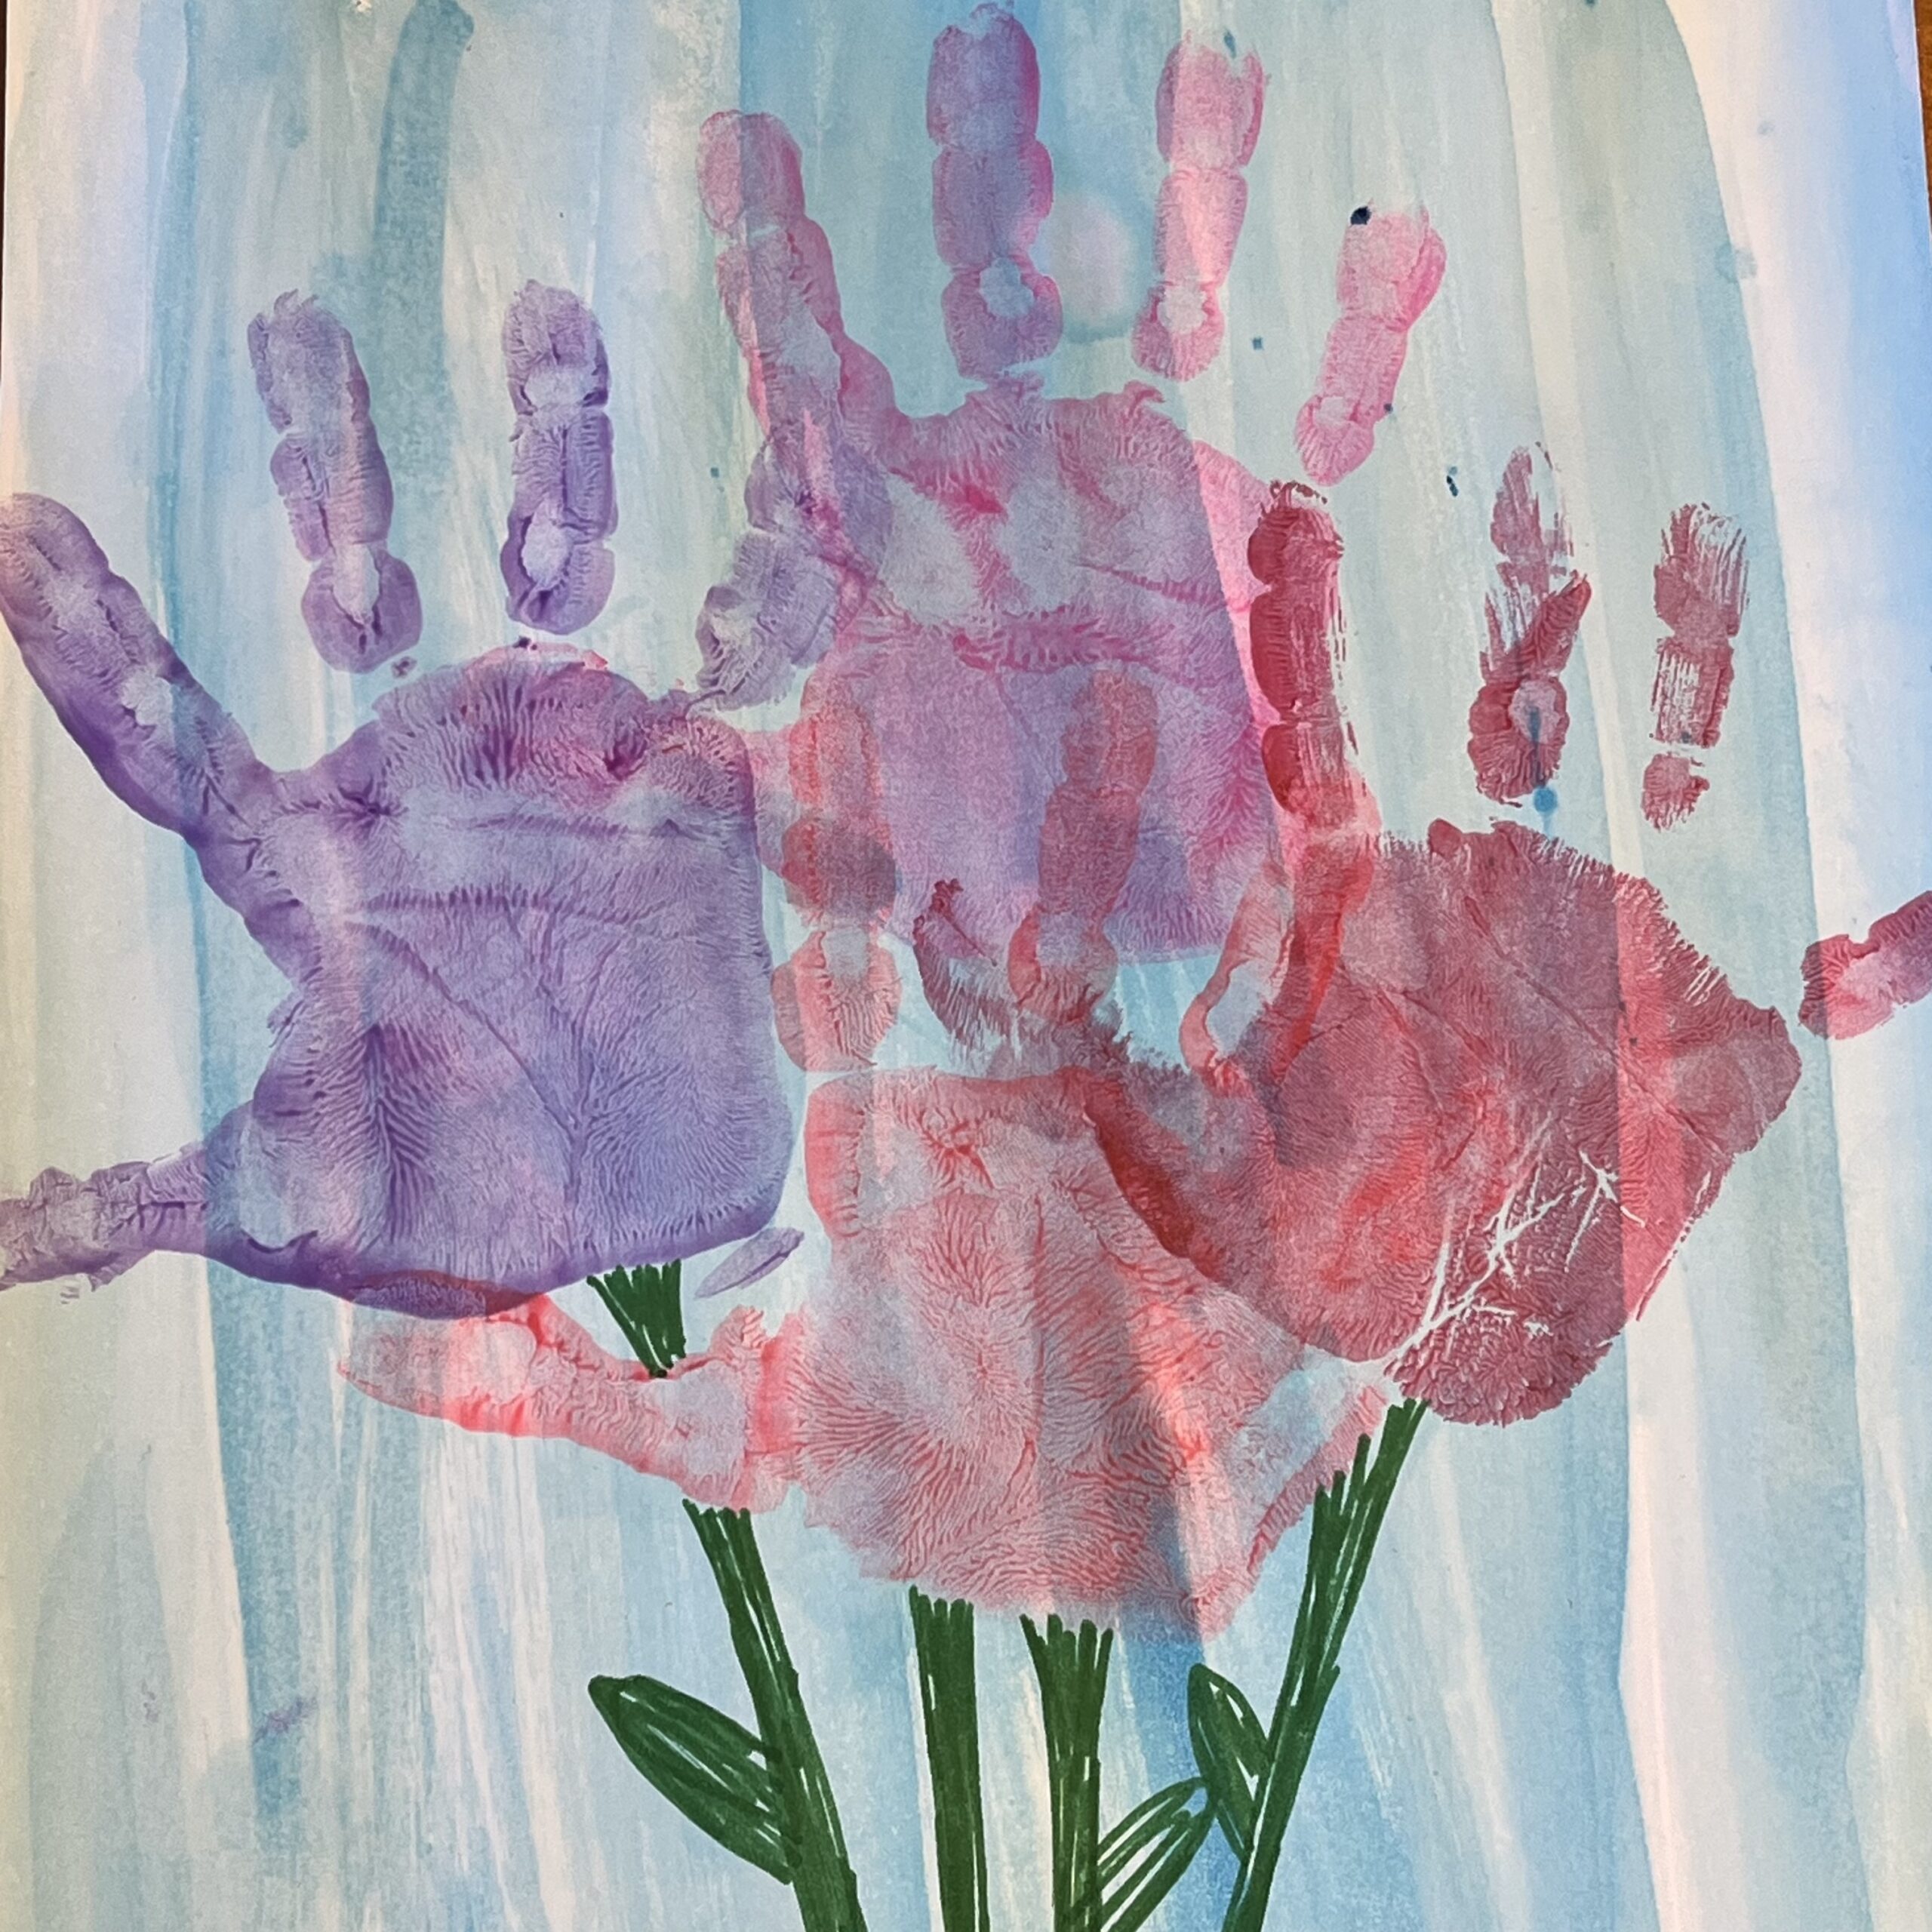
- Have the students choose one color and paint the entire sheet of paper with watercolor. This will serve as the background for the handprint flower bouquet. We recommend using a light color so the flowers really stand out!
- Once the papers are painted, put them aside to dry fully before completing the next step.
Step Two: Adding the Handprint Flowers
Prep:
- Put some finger paint on a small paper plate. We recommend reds, pinks, and purples to give this project a Valentine’s Day feel, but all colors are welcome.
- Hand out project materials for step two: dry papers painted with watercolors, finger paint, paint brush, and paper towels/wet wipes.
- Demonstrate how the students will use finger paint to cover one hand and make a handprint on the paper. It’s helpful to remind them to place their handprint firmly, in a straight up and down motion to reduce smudging. It’s also helpful to show them where to place the handprint on the page – in this case, somewhere towards the top so there is room to draw stems at the bottom of the flower bouquet.
Hands-on:
- Students will paint one hand and place a handprint on the paper with the watercolor background.
- Once a handprint has been placed, they will repeat this 2-3 more times – each time placing the handprint in a different place – to create a bouquet of handprint flowers. Students can use different colors for the different flowers (be sure to wipe hands in between!) or they can make their flowers all the same color.
Notes:
- Younger students may need help painting their hands and properly placing their handprints.
- For older students, walk around and provide and needed help or guidance as they work.
- Once the handprint flowers have been added, put the papers aside to dry.
Step Three: Drawing the Stems
Prep:
- Hand back the dry projects-in-progress along with green markers.
- Demonstrate how the students will draw stems with leaves at the bottom of the handprint flowers to create a bouquet.
- If necessary or helpful, draw the stems and leaves lightly in pencil for the students to trace with green marker.
Hands-on:
- Once the handprints are dry, it’s time to add stems and leaves! Help the students draw stems from the bottom of each flower, collecting into a bundle to create the look of a bouquet. Add some leaves as well to make it look realistic!
- For younger students, it may be helpful to draw the stems and leaves in pencil, and then have the students trace them with green marker. Older students may be capable of drawing them freehand.
- Students should sign the front of their artwork at least 1” away from the edge of the paper once their winter bird project is complete.
Note: This project can be easily altered for occasions other than Valentine’s Day! It makes a great Mother’s Day craft, too!
For more helpful tips about making handprint art, be sure to check out our Art Tips! Handprint Art video.
Age Group
Grades Kindergarten – 2nd Grade
Time
30 minutes
Materials
- white 8 ½” x 11” art paper
- finger paints
- markers
- paint brushes
- glue sticks
- paper towels
- wet wipes
- paper plates