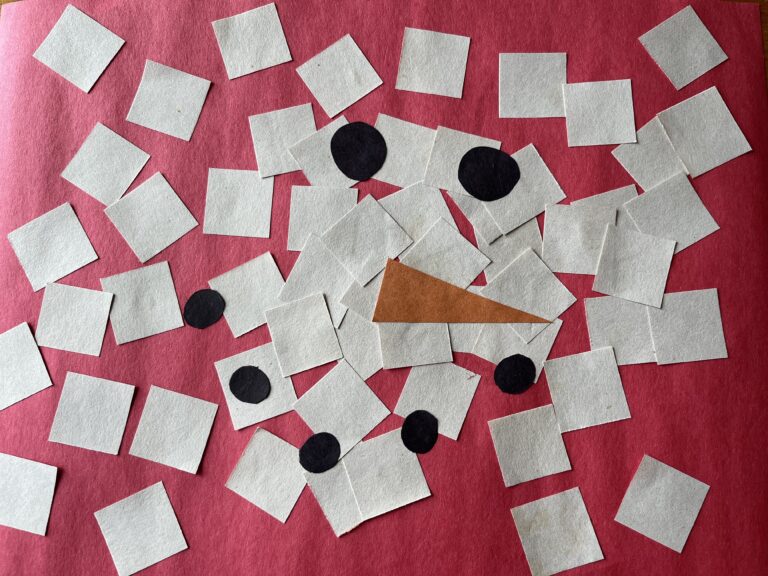
Melted Snowman Lesson Plan
What You’ll Need
- 8 ½” x 11” construction paper (black, orange, and white for the snowman elements, plus other colors for the background)
- Glue Sticks
- Scissors
- Black Marker
Project Prep
Ahead of doing this project with the kids, cut 1×1″ squares of white paper. You’ll need about 60-70 squares per kid.
Additionally, you’ll want to cut out the orange isosceles triangles for the snowman noses (one per child), the larger 1″ diameter circles for the snowman eyes (2 per child), and the smaller 1/2″ diameter circles that make up the snowman’s smile (5 per child).
Note that if you’re doing this project with older children (kindergarten and above), you can leave some of the cutting to do with the kids. This is a great opportunity to work on those scissor skills! We’d recommend drawing some guide lines, and be sure to use kid-friendly scissors!
Melted Snowman Project Instructions
- Start by showing the children an example of the project they’re going to be making. Explain that they’re going to stick the white squares on first, followed by the snowman’s features. You’ll want to mention that ideally, they will cluster some of the white squares towards the middle of the page to represent the snowman’s body, with other squares spreading towards the edges as he’s “melting.”
- Hand out project materials to each child: A glue stick, 60-70 white paper squares, 1 orange triangle, 2 bigger black circles and 5 smaller black circles, as well as a piece of construction paper to serve as the background. (Note that if you are doing this project with older children who will be cutting out some of the shapes themselves, you will also need to hand out kid-friendly scissors.)
- Students will start by gluing down white squares on their construction paper. For younger students, you may need to work 1:1 to help them properly spread the glue and place the squares.
- Next, help students glue the snowman’s eyes, carrot nose, and mouth on top of the white squares. You can provide them with as little or as much guidance as you’d like. Let them be creative!
- Once the snowman is complete, students can sign the front of their artwork at least 1” away from the edge of the paper.
Age Group
Grades Toddler – Kindergarten
Time
30 minutes
Materials
- 8 ½” x 11” construction paper
- glue sticks
- scissors
- black marker

