Under the Sea
Process
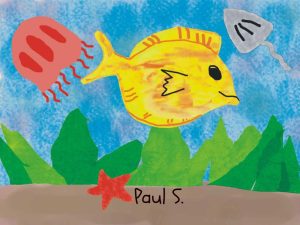
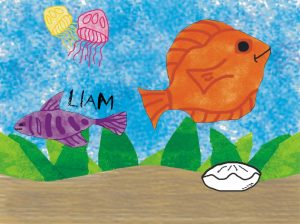
- View and discuss the different types of sea life. Look at pictures and examine the different ways fish use colors (camouflage, attractions, etc.).
- Create the background for your sea picture.
- First, lightly pencil sketch the ocean floor onto the bottom fourth of your heavy white paper.
- Second, fill in the water and sand with watercolor paints. Sponges work best to give the water texture and brushes will make the sea floor appear smooth.
- Set aside to dry.
- Create your sea life
- Select differently colored construction paper for your sea life.
- Lightly draw the outline shape of your choice and cut out.
- Highlight the shapes and their features (gills, eyes, barbs, stingers, etc.) with markers.
- Cut out seaweed shapes from the green tissue paper.
- Stress the importance of using multiple shades.
- Glue the seaweed onto your dried background.
- Trim the seaweed so that it fits to the curves of your sea floor.
- Lay out your sea life onto the background.
- Look carefully at placement.
- Try overlapping pieces to achieve the best effect.
- Pieces are glued onto the page when you are satisfied with the outcome.
- The final step is to sign your masterpiece.
- Be sure to use a contrasting color and to keep your name at least 1” away from the paper edge.
- Students should also record their name, grade, teacher and class, in pencil, on the back.
Age Group
Grades 3-5
Adaptable to All Ages
Difficulty
Moderate
3.2/5
Time
Two, 45 minute sessions
Materials
- white art paper
- construction paper (multiple colors)
- green tissue paper (various shades)
- markers
- watercolor
- brushes/sponges
- scissors
- glue
- images of sea creatures
- images of sea plant life


